.png)
In some instances, TrackMy may not find the complete vaccination record for a user. Users will self-report a vaccination if:
-
They received a vaccine dose outside the United States or in a U.S. territory.
-
They received a vaccine dose in a state TrackMy does not have an established health registry connection with.
-
TrackMy could not find a record of their vaccination based on the information provided.
This guide explains how to review self-reported vaccine doses in TMV. Your organization's requirements for validating a dose may vary.
Review doses self-reported vaccine doses
-
In your TMV admin/clinical portal, go to Validation Queue or Review Queues. Your exact tile will depend on your TMV configurations.
-
Go to Vaccines.
-
Click Review Case for a dose:

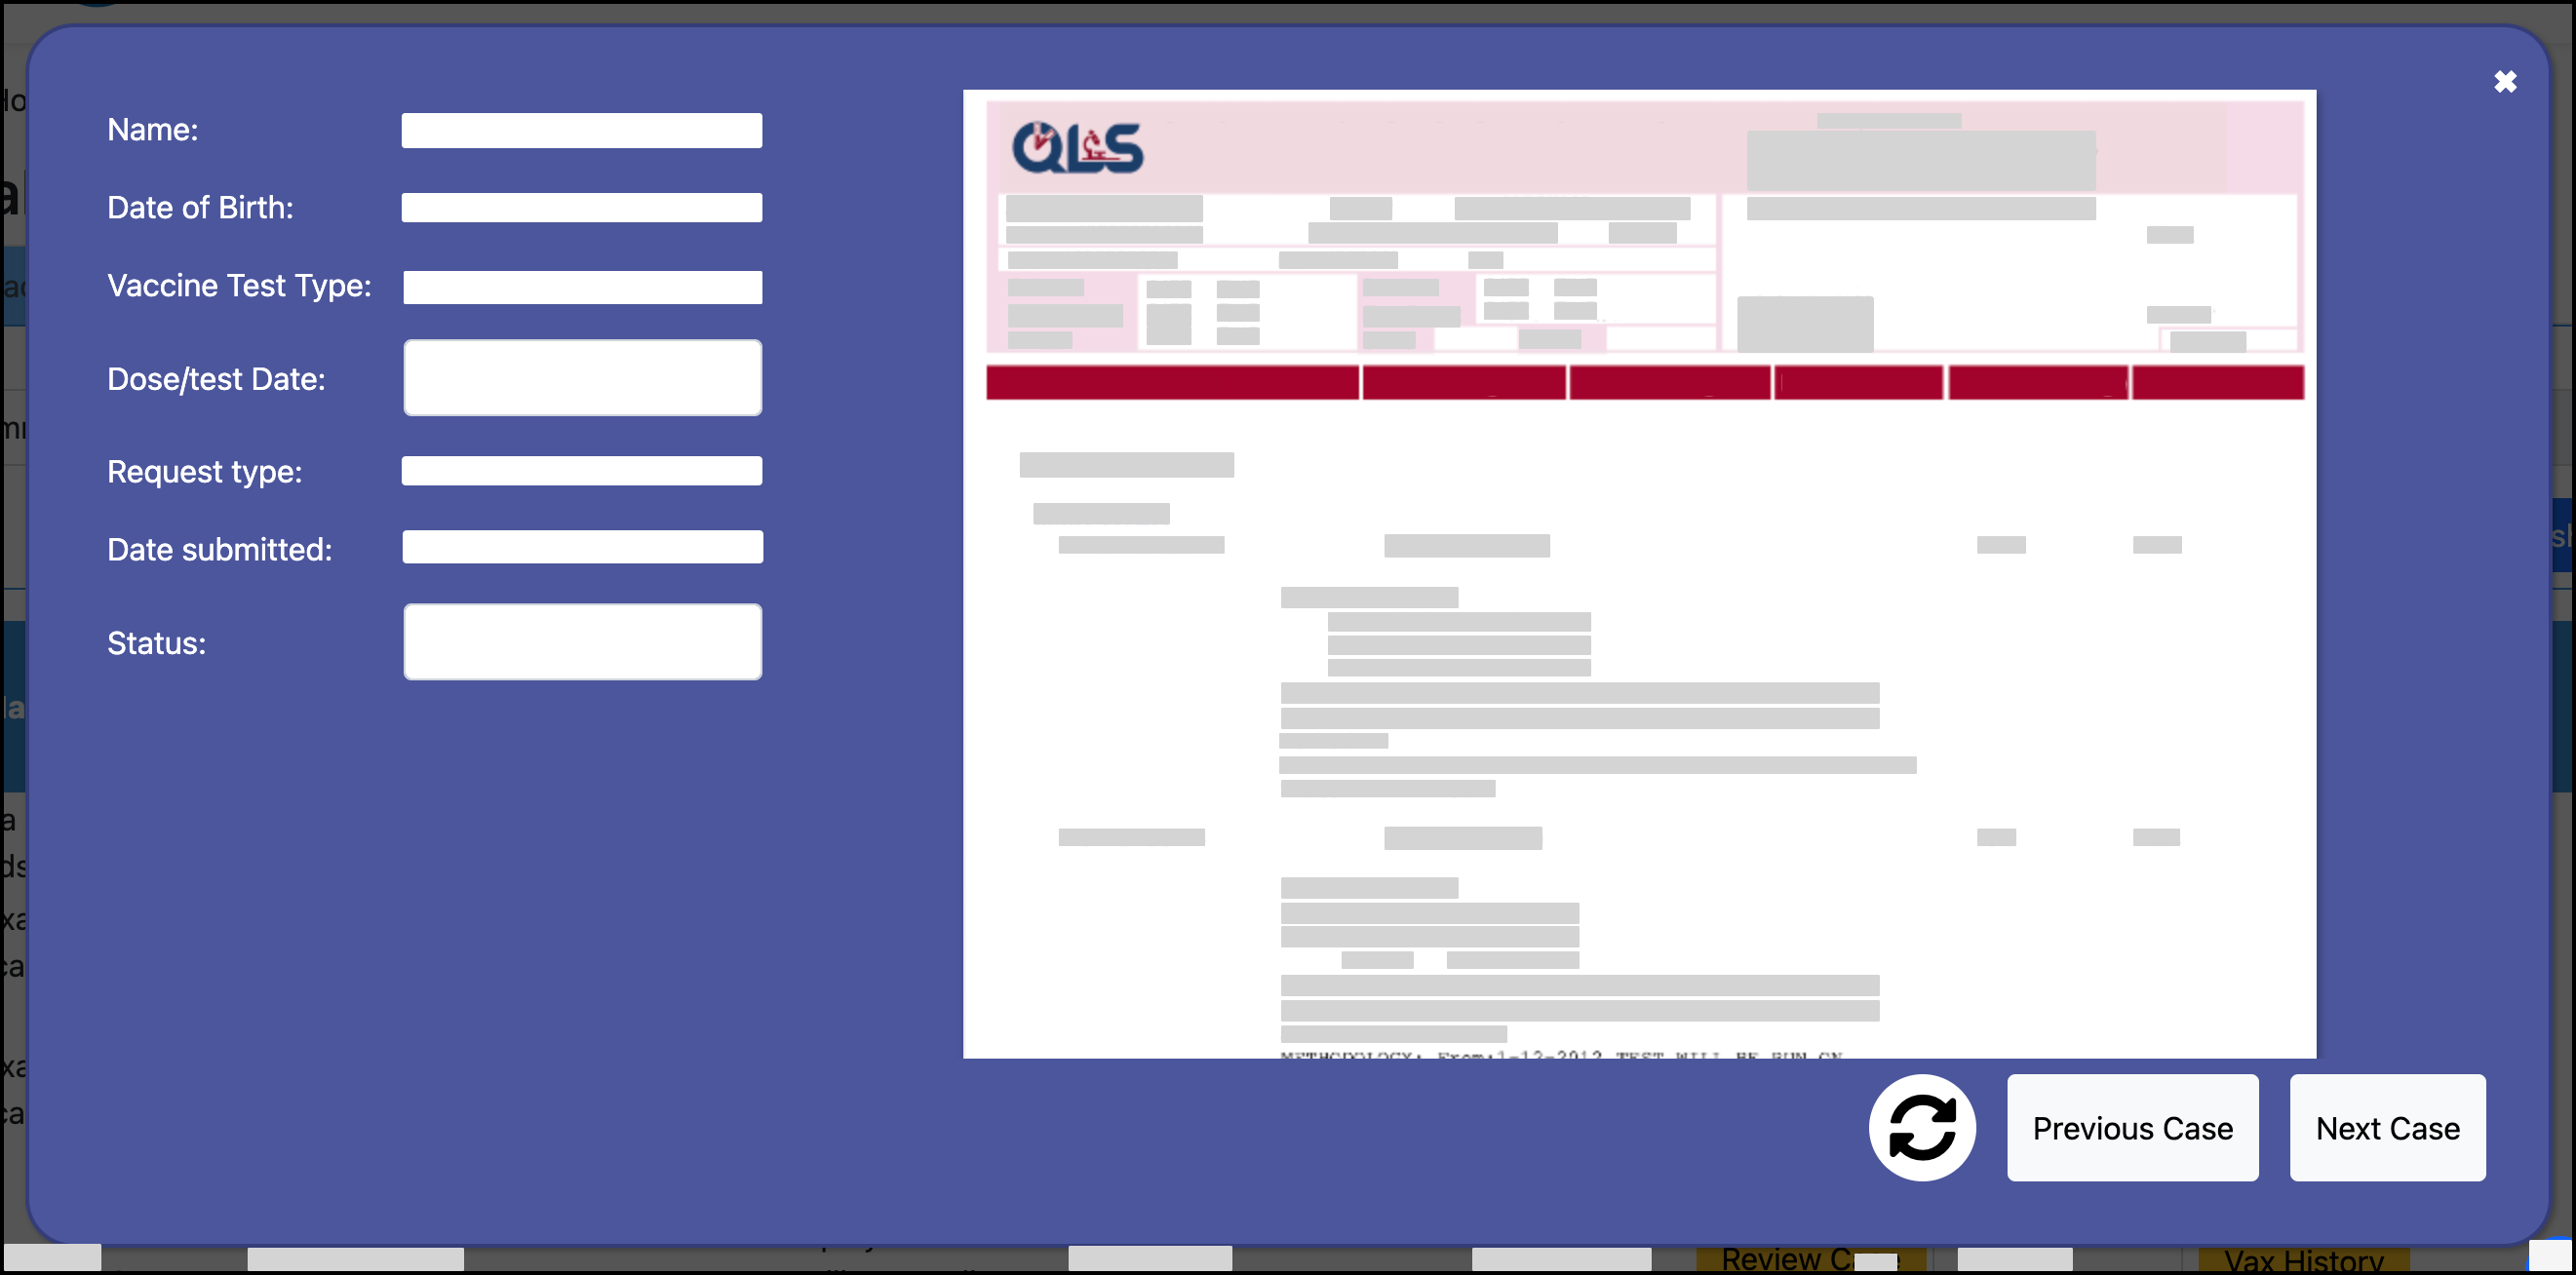
-
Verify that the user’s name matches the name on the submitted documentation.
-
If the names do not match, verify that the date of birth matches.
-
If neither name nor date of birth match, fail the submission.
-
-
Verify that the vaccination date on the submission matches the vaccination date on the documentation.
-
Users often enter the vaccination date wrong. If needed, edit the vaccination date to match the documentation:

-
-
If the submitted vaccine type does not match the vaccine type on the documentation, follow the instructions below to change the vaccine type.
-
When all information is correct for the self-reported dose, validate the dose by changing the Status.
When you update the dose status, TrackMy will automatically display the next self-reported dose in the queue.
Change the vaccine type for a self-reported vaccine dose
Some self-reported doses are submitted as the wrong vaccine type. For example, a user submits a Rubella dose as a Measles, Mumps, Rubella dose.
To change the vaccine type in a self-reported dose:
-
If viewing the dose in the Review Queue / Validation Queue, close the pop-up case view.
-
Click Vax History for the user. The user’s Vaccines dashboard will open in a new window:

-
Expand the vaccine group to view doses:
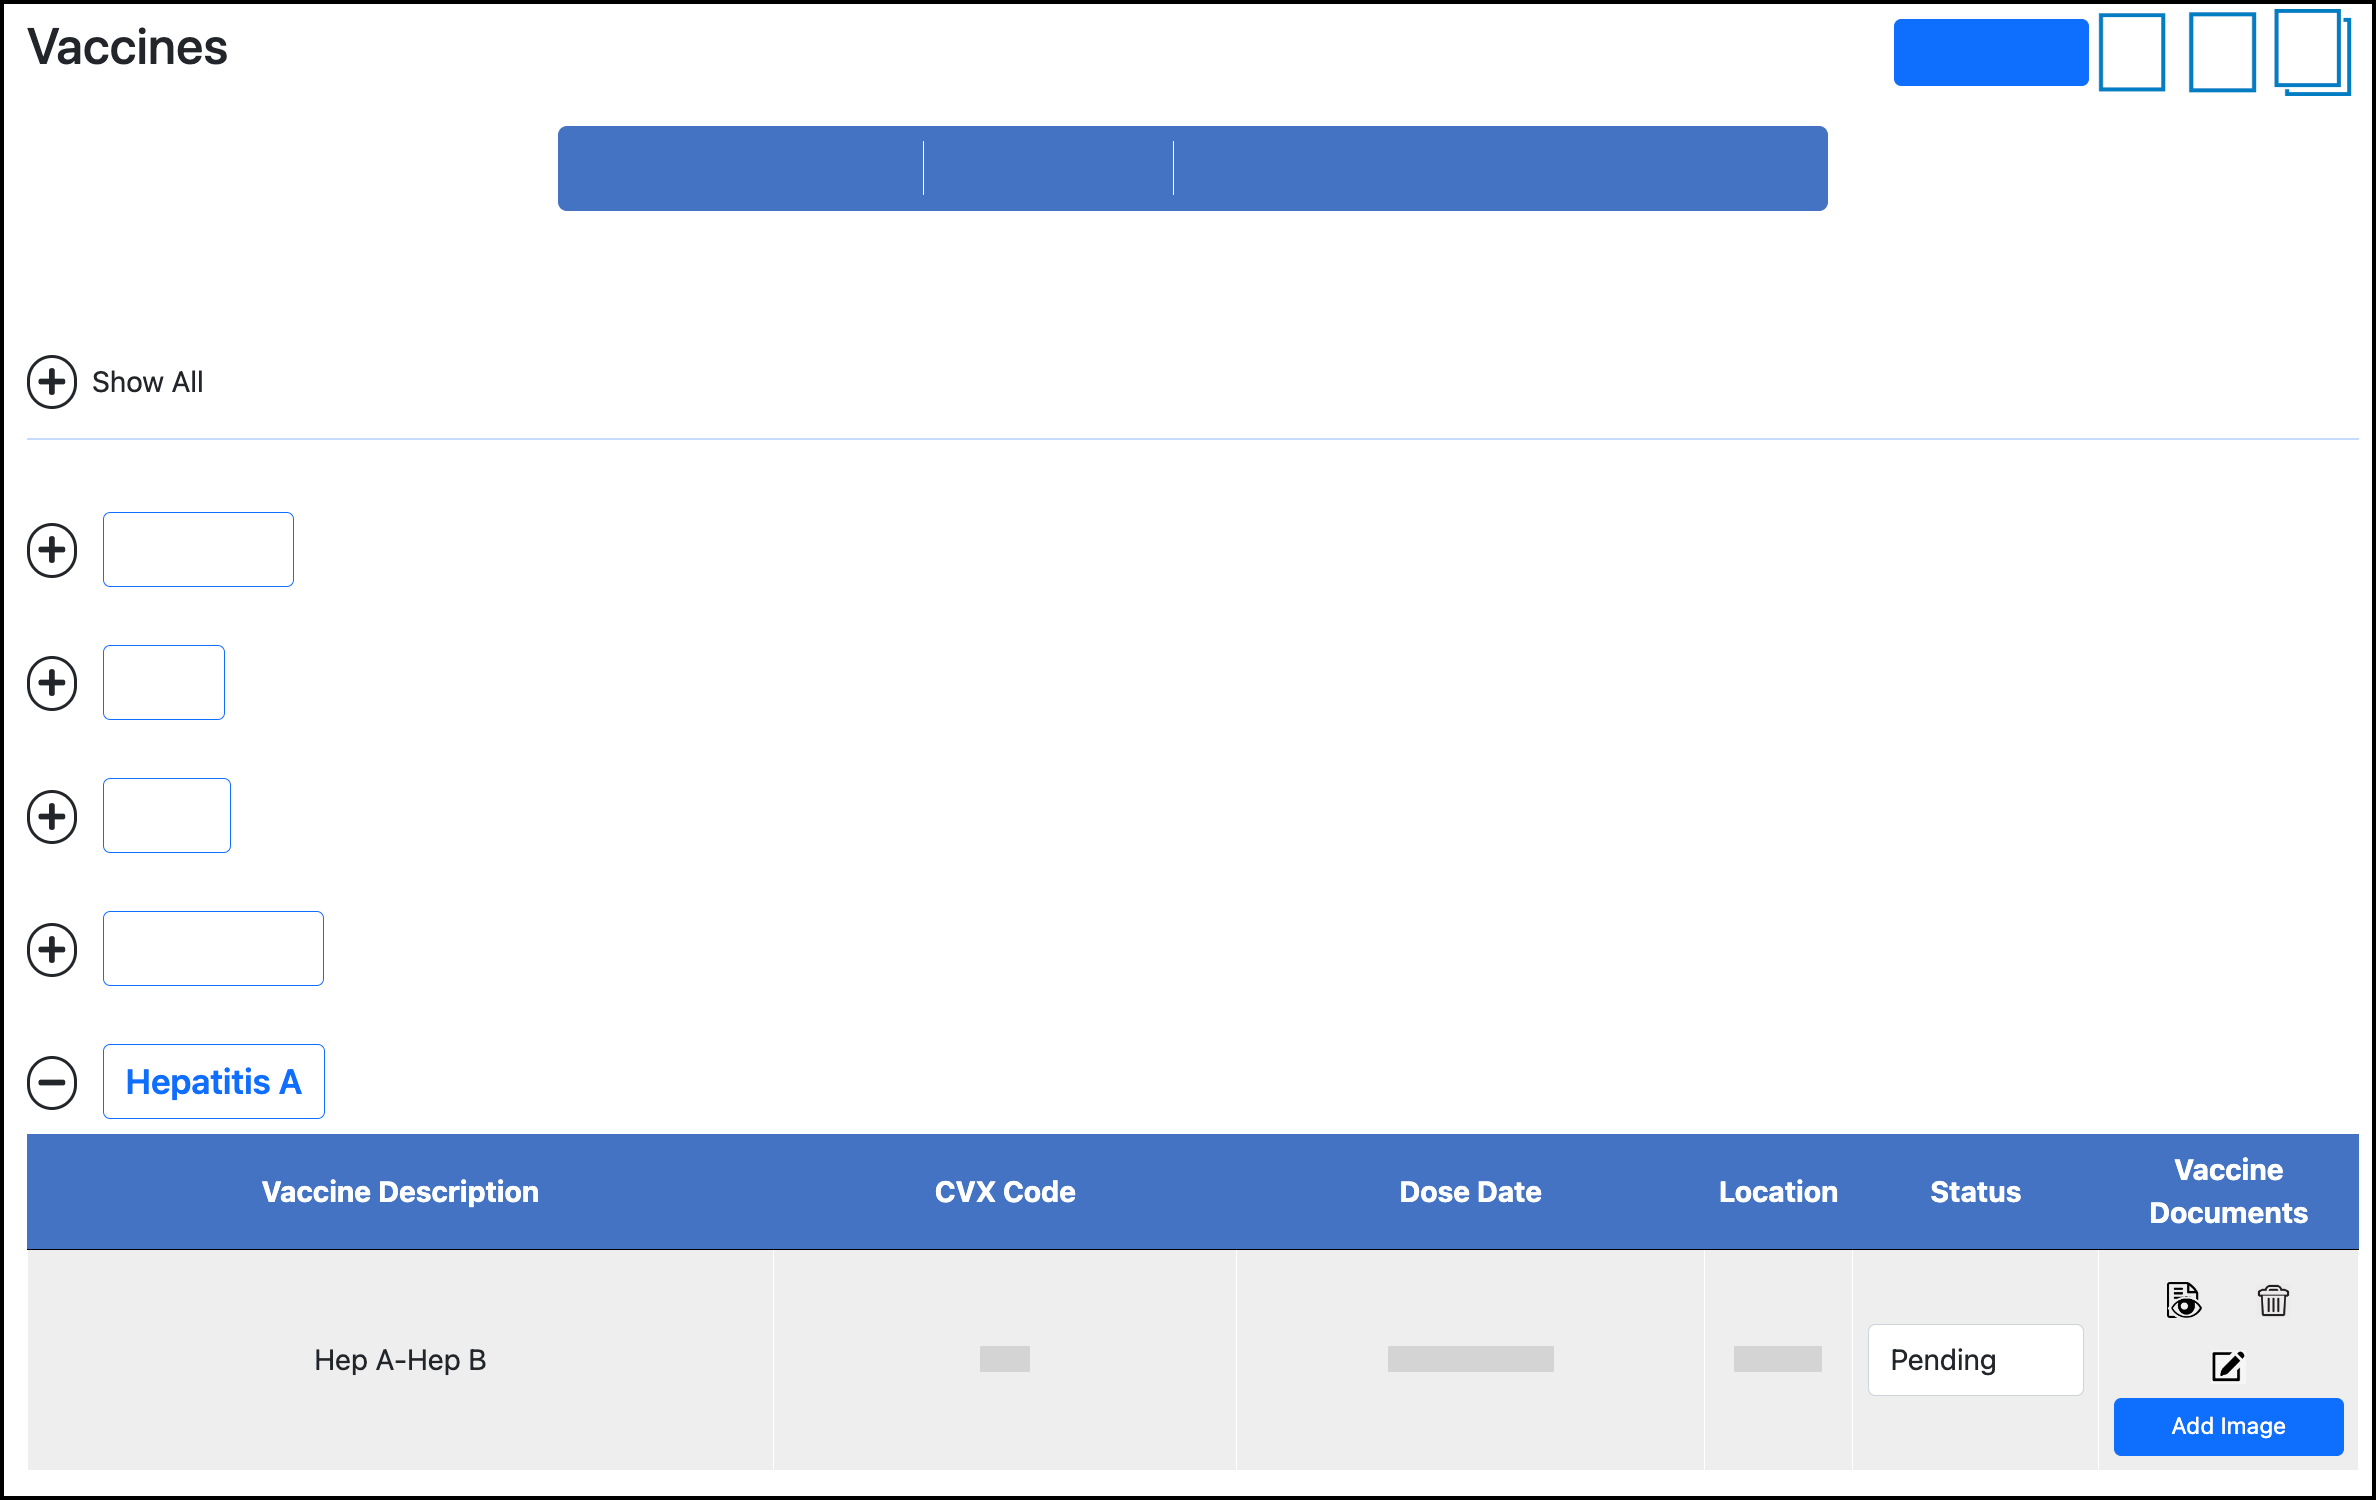
-
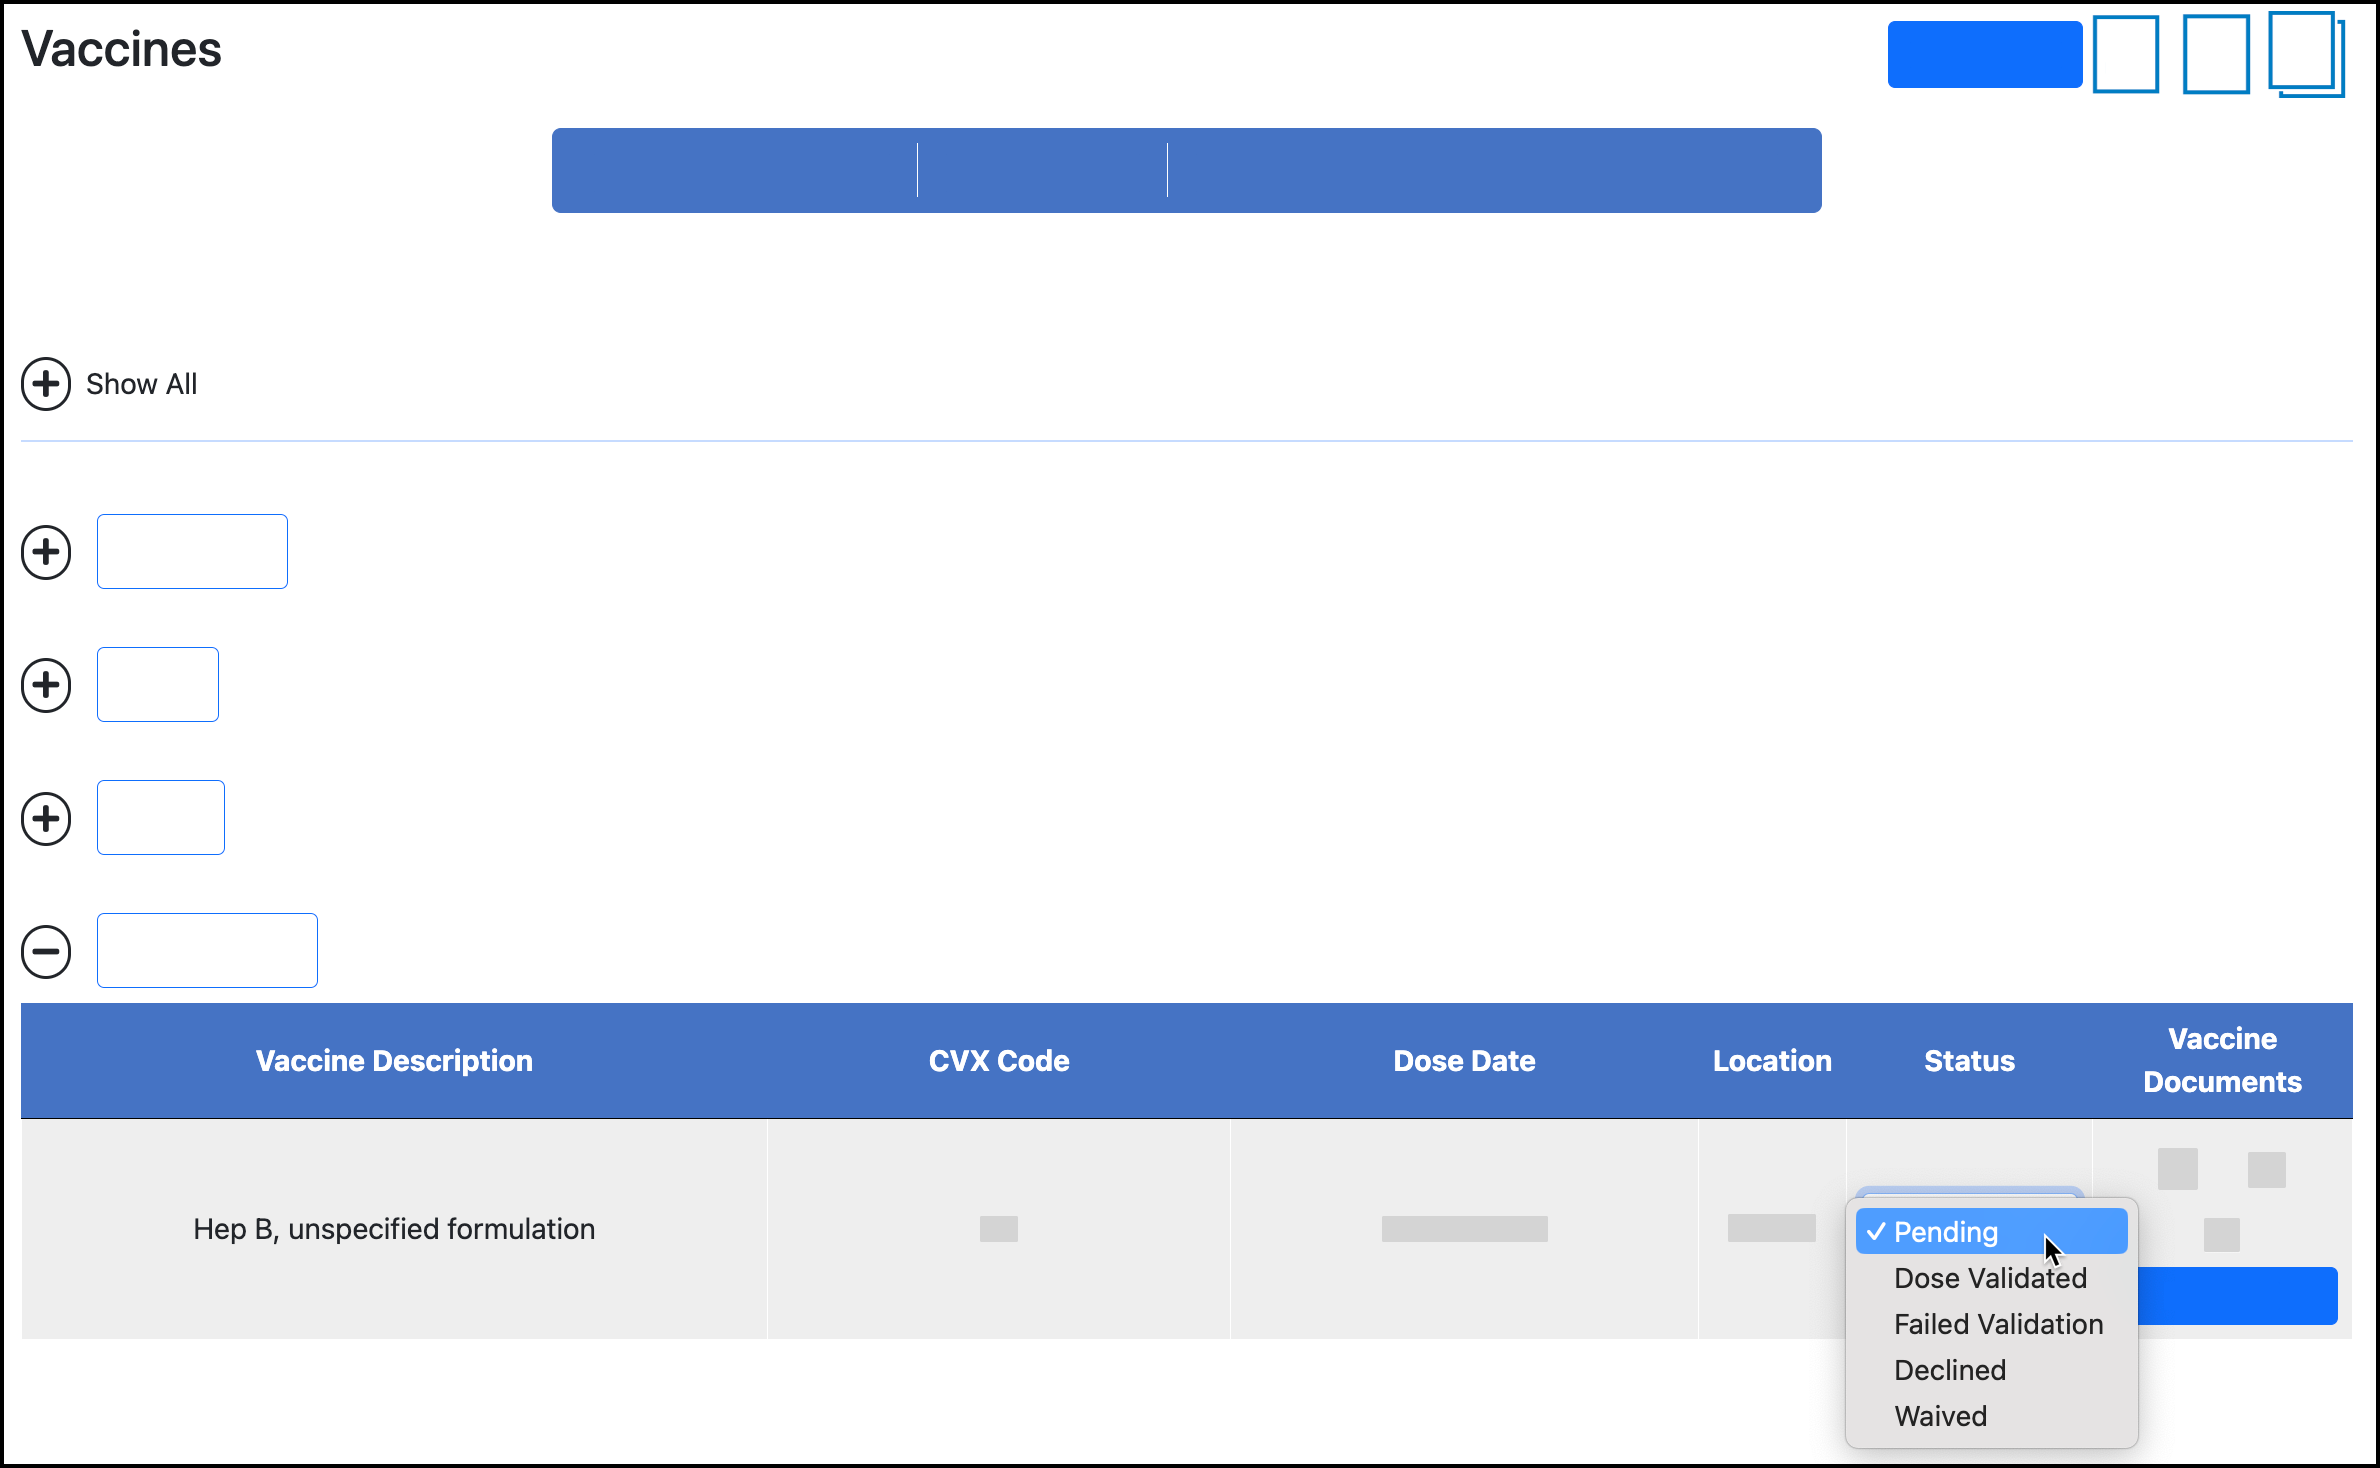
Click the Edit icon for the vaccine dose.
-
Click the vaccine type and select the correct vaccine type from the list:

-
Click Submit.
-
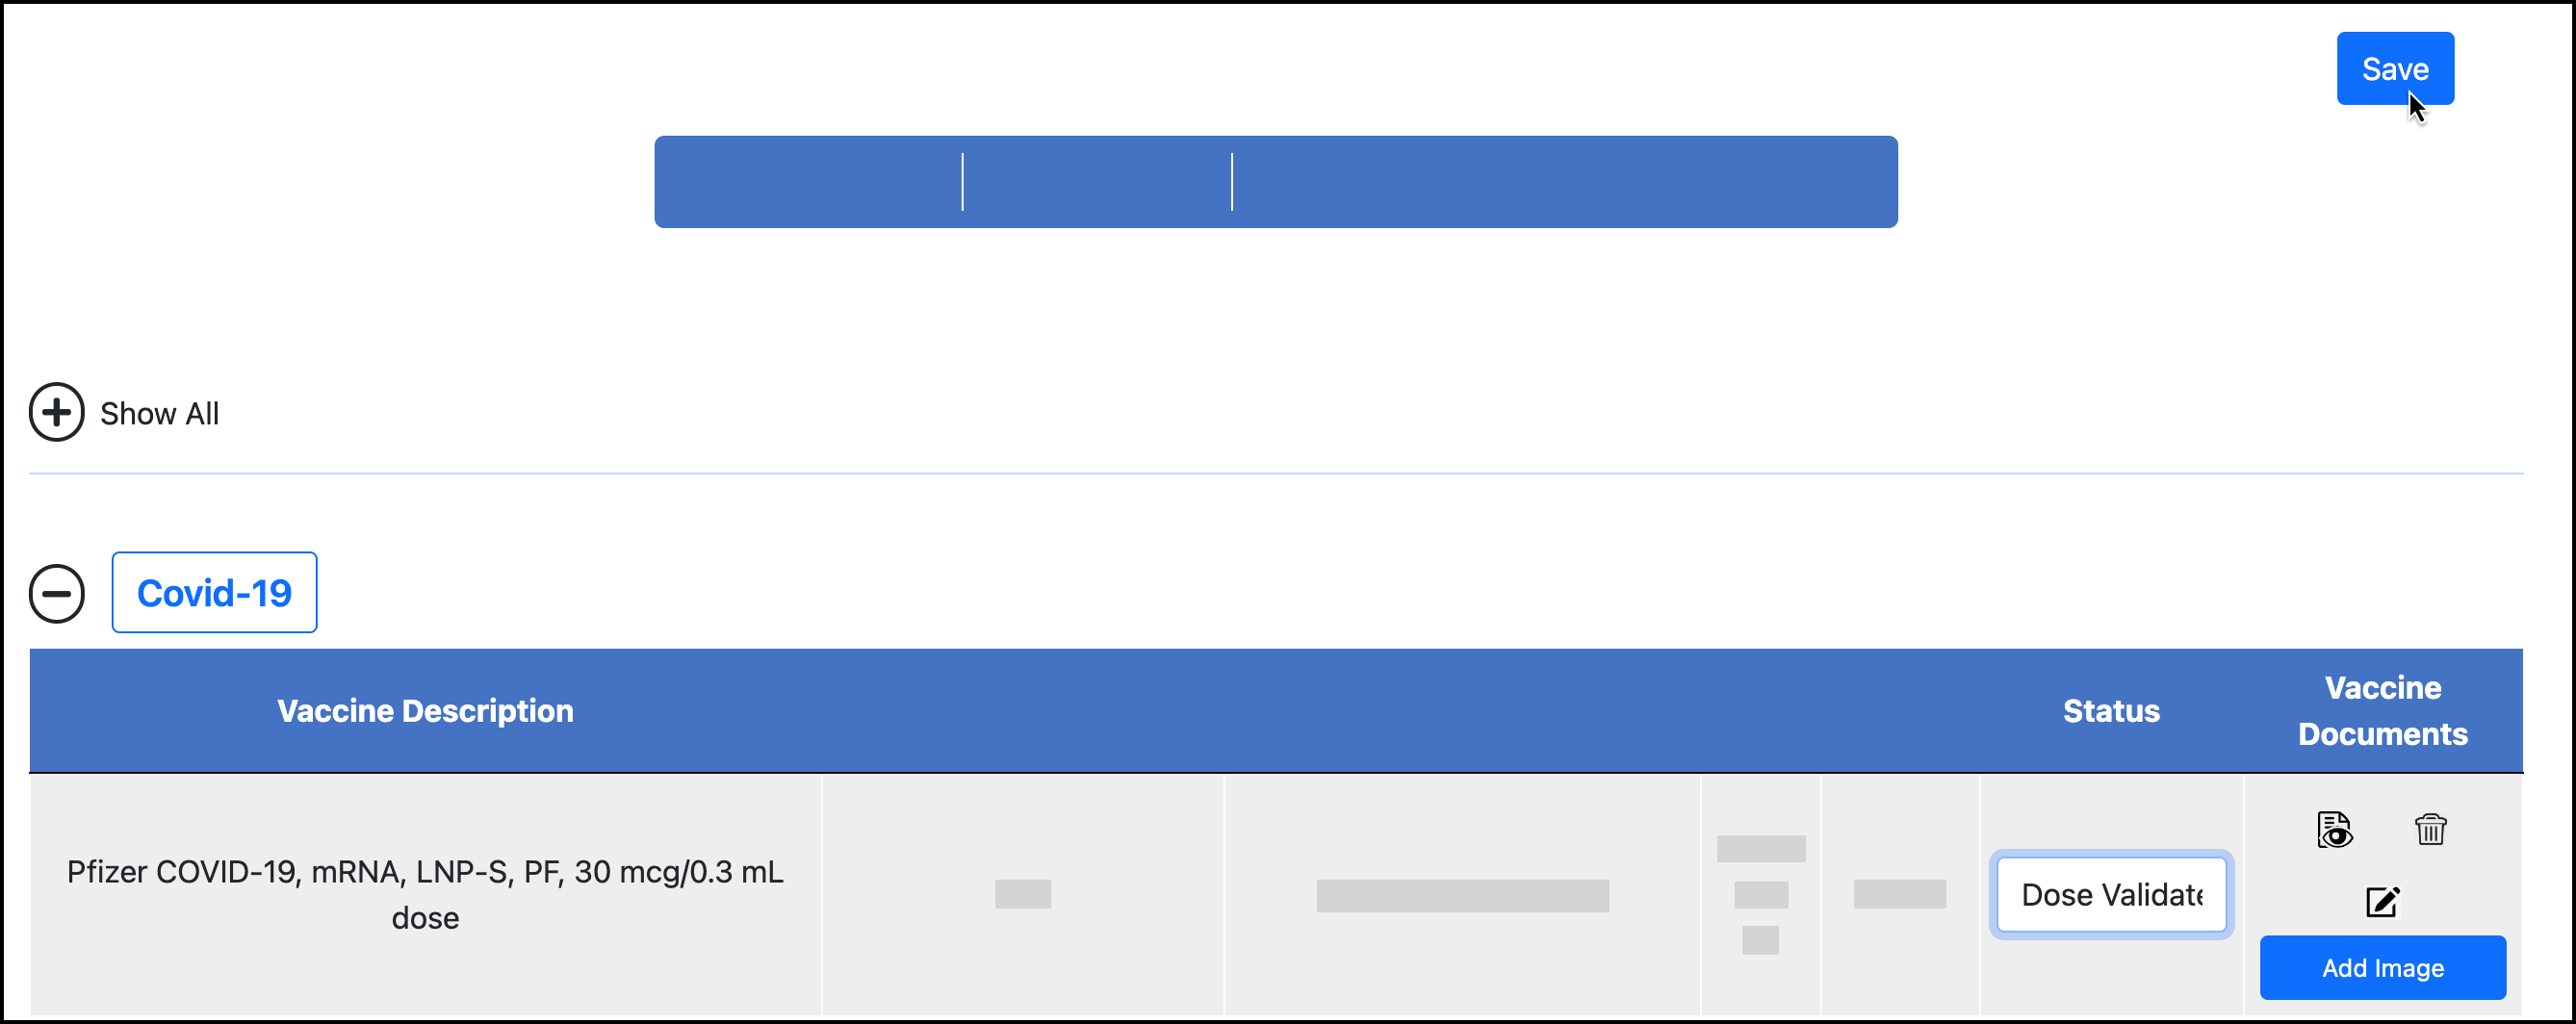
If you have verified that all other information for the dose is correct, validate the dose in the user’s Vaccines dashboard:
-
Click Save. This button appears in the upper-right corner on desktop:
Otherwise, return to the Vaccines queue to continue reviewing the self-reported dose.
-
Update the status of a self-reported vaccine submission
-
Open Review Case for the self-reported dose.
-
Click Status and select the new status:

-
If selecting Failed Validation or Not Validated, enter the reason for failing. You may have a list of reasons to choose from.