.png)
Patient Document Management consolidates and organizes the documents uploaded across TrackMy Verivax (TMV) for a participant. Additionally, clinicians can upload documents to store in a participant’s central file hub.
Document folders
If you do not see the buttons described here, contact your TrackMy Client Care team to be granted the necessary admin permissions.
Create a folder
To create a folder:
-
In your TrackMy Clinical/Admin portal, go to Administration:
-
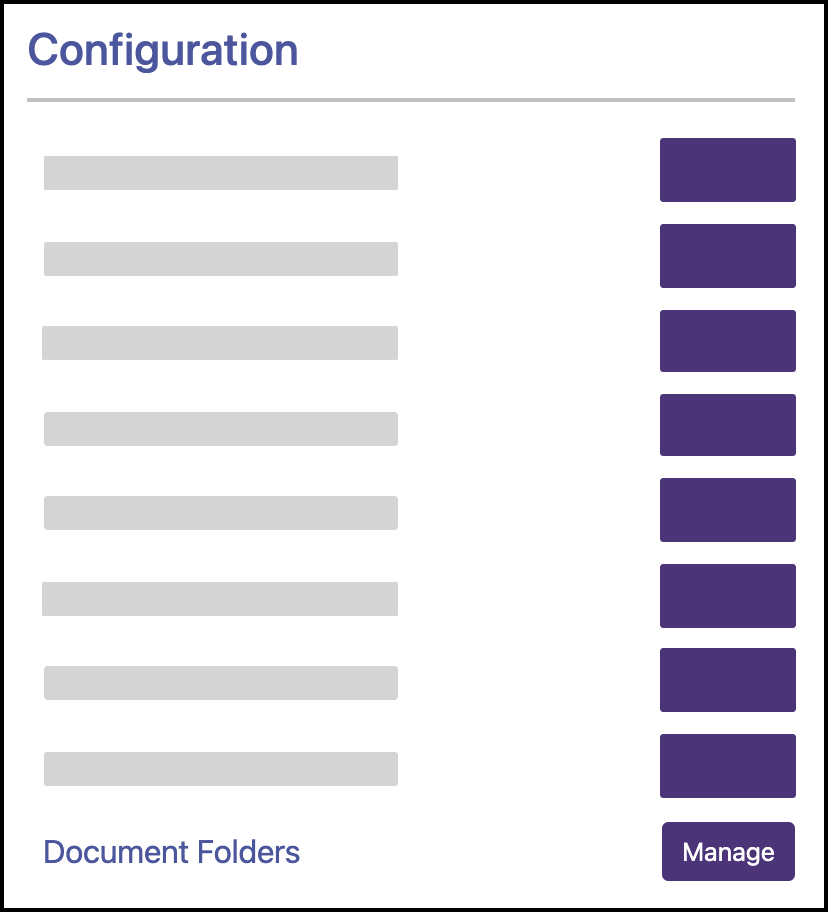
Go to Configuration and click Manage for Document Folders:
-
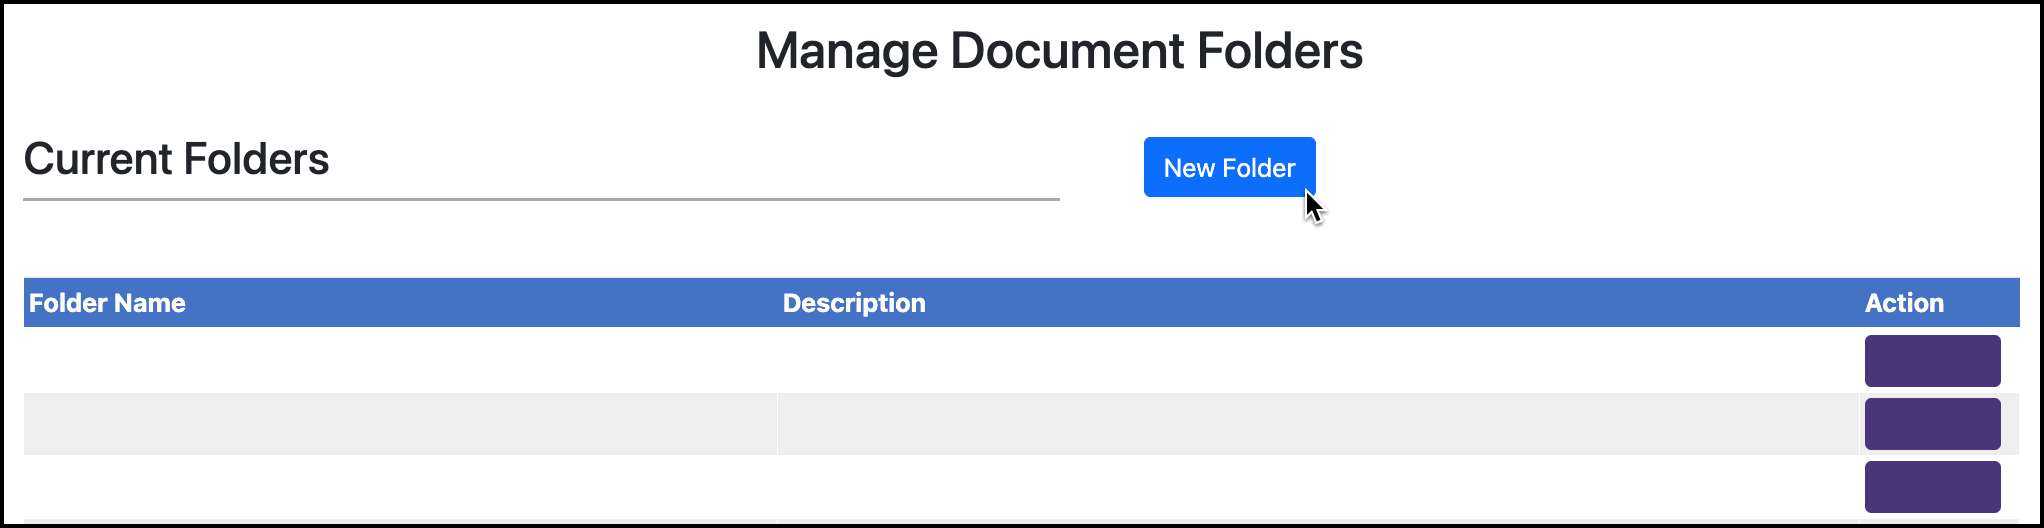
Click New Folder:
-
Enter the folder name and description.
The folder can be set to be Internal. When a folder is Internal, the participant will not be able to view the folder.
-
Save.
Create a subfolder
To create a subfolder, follow the steps above and select a Parent Folder when entering the folder name and description.
TMV will support three levels of sub-folders. For example:
Parent folder
-
sub-folder 1
-
sub-folder 1.1
-
sub-folder 1.2
-
-
-
sub-folder 2
In this example, sub-folder 1.2 cannot be a parent folder.
Edit a folder
Follow the above steps to go to Document Folders Management. Click Edit for the folder you want to edit.
Folders cannot be deleted. ‘Supporting document’ folders cannot be edited.
‘Supporting documents’ folders
The ‘supporting documents’ folders contain documents that the patient user has uploaded in TMV. For example, a document uploaded with a test result will be stored in Test supporting documents.
These folders are automatically made by the system and cannot be edited or deleted. Subfolders can be built for these folders.
Your exact supporting document folders will vary based on the configuration of your TMV instance.
-
Supporting document folders:
-
Vaccine supporting files - Files uploaded with vaccine records
-
Lab Test supporting files - Files uploaded with lab tests
-
Fit Test and Medical Evaluation supporting files - Files uploaded with fit tests and medical evaluations
-
Form supporting files - Files uploaded with custom forms and TB Survey
-
Accommodation and Declination supporting files - Files uploaded with medical accommodations, religious accommodations, and declinations
-
Notes supporting files - Files uploaded with clinical notes
-
Upload a document for a participant
If you do not see the buttons described here, contact your TrackMy Client Care team to be granted the necessary admin permissions.
-
In your TrackMy Clinical portal, go to Search for Patient:

-
Search for the patient.
-
Click Upload Doc (on the far right side of the screen):

-
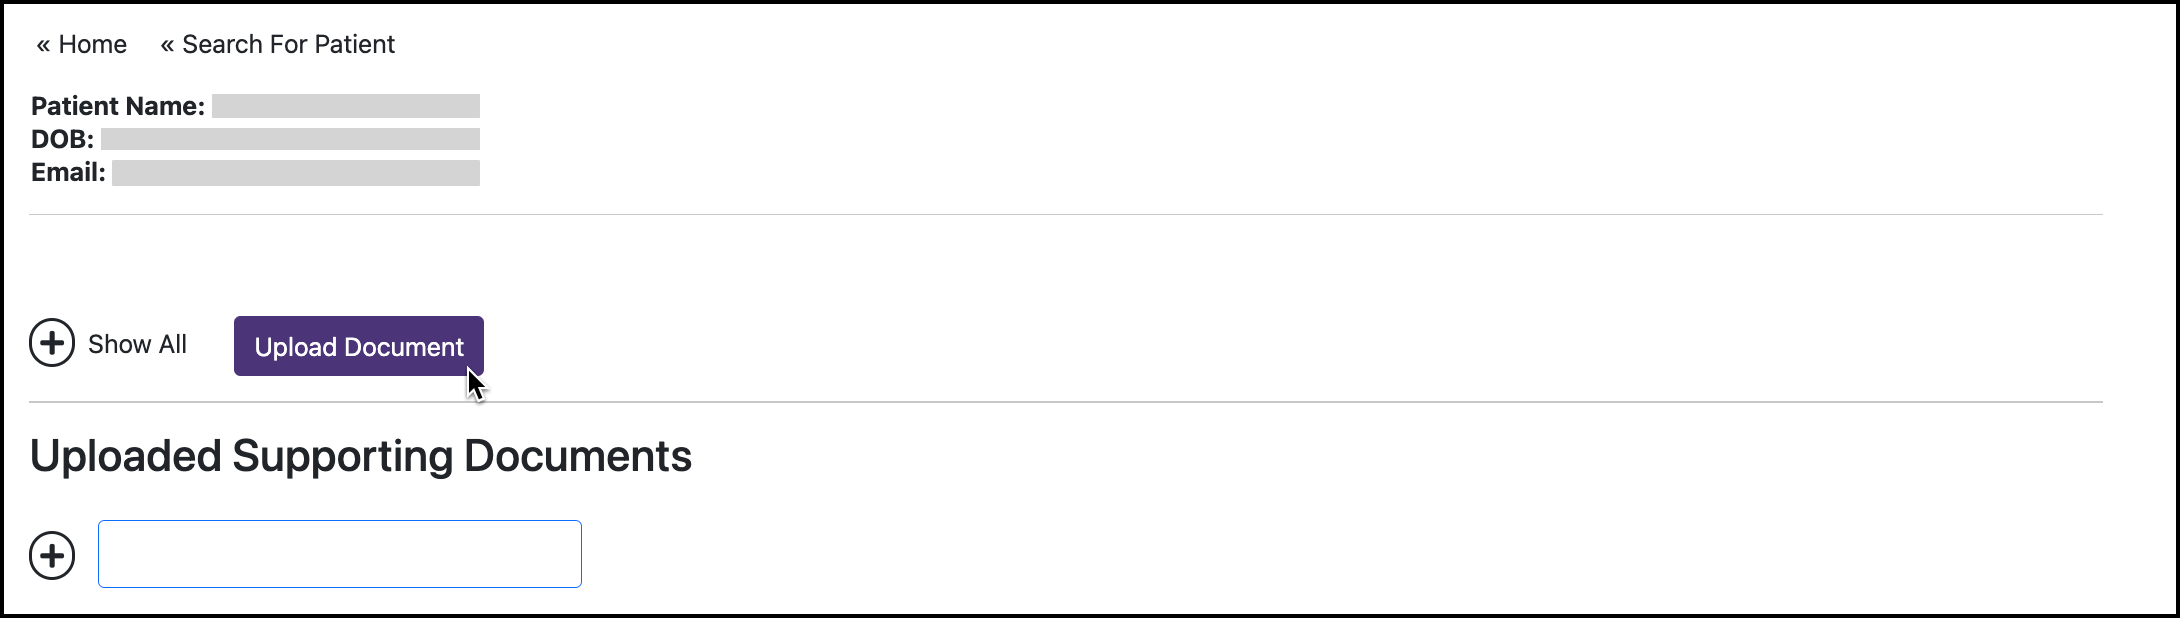
Confirm you are viewing the correct participant’s uploaded documents. Patient info is at the top of the page.
-
Click Upload Document:
-
Select the folder and upload the file.
You can upload only one file at a time. -
Save.
Move a document to another folder
A document can be moved to a different folder for a participant. You cannot change what participant the document is associated with. If the document is associated with the wrong participant, follow the instructions below to delete the document.
To move a document to a different folder:
-
Follow the above instructions to access the participant’s Uploaded Documents page via Search for Patient - Upload Doc.
-
Click Actions for the document.
-
Click the selected Folder and select a new folder.
-
Save.
Delete a document
Documents in the ‘Supporting documents’ folders cannot be deleted from the Uploaded Documents page.
To delete an uploaded document:
-
Follow the above instructions to access the participant’s Uploaded Documents page via Search for Patient - Upload Doc.
-
Click Actions for the document.
-
Click Delete and confirm.
View a participant’s uploaded documents
Clinical/Admin users can view a participant’s uploaded documents in both Search for Patient - Upload Doc, and the participant’s Account Summary.
If you cannot see the Uploaded Documents section in the participant’s Account Summary, contact your TrackMy Client Care team to be granted the necessary admin permissions.
Internal folders will not display in the Uploaded Documents within the Account Summary. Follow the above instructions to access the participant’s uploaded documents via Search for Patient - Upload Doc.
To view a participant’s uploaded documents in their Account Summary:
-
In your Clinical portal, go to Search for Patient.
-
Search for the patient.
-
Click the patient’s hyperlinked name to open their Account Summary.
-
Click Uploaded Documents in the side menu.
View all uploaded documents in TMV
If you do not see the Patient Documents tile, contact your TrackMy Client Care team to be granted the necessary admin permissions.
Clinical/Admin users can view all documents uploaded across your TMV instance in the Patient Documents tile.