.png)
Patient Tags allow you to create tags and assign them to users. When generating reports, use tags to limit users. Patient users cannot see the tags assigned to them.
For more information on building custom reports with your tags, contact the TrackMy Client Management Team.
Create a Patient Tag
-
In your TrackMy admin/clinical portal, go to Administration.
-
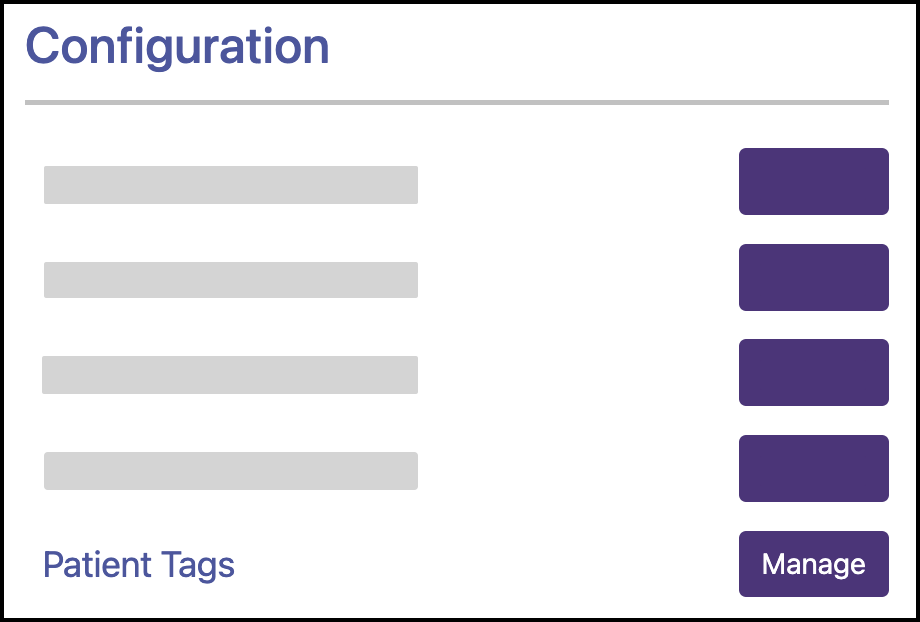
Go to Configuration and click Manage for Patient Tags.
-
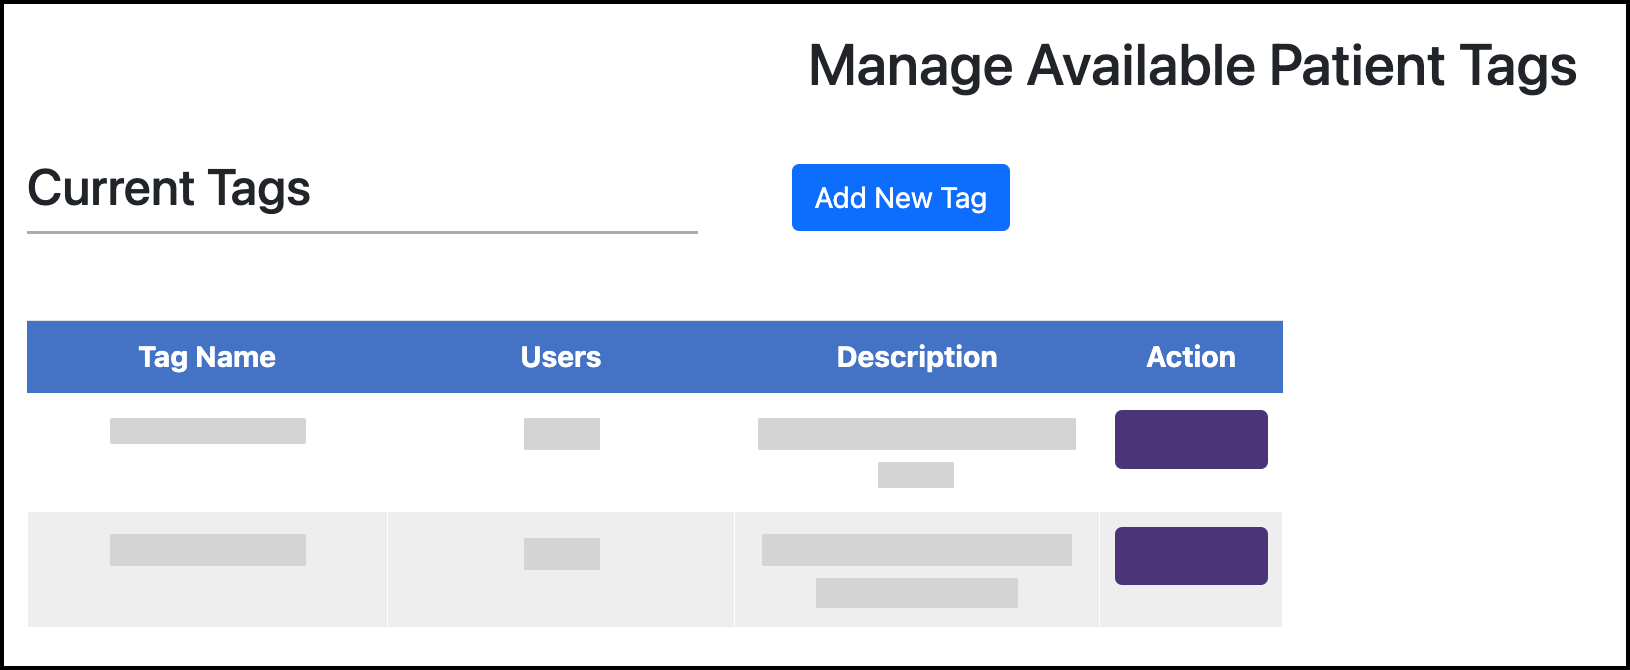
Click Add New Tag.
-
Enter tag name and description.
Bulk add users to a tag
To import a list of users and assign a tag to all:
-
In your TrackMy admin/clinical portal, go to Administration.
-
Go to Configuration and click Manage for Patient Tags.
-
For the tag, click the user count.

-
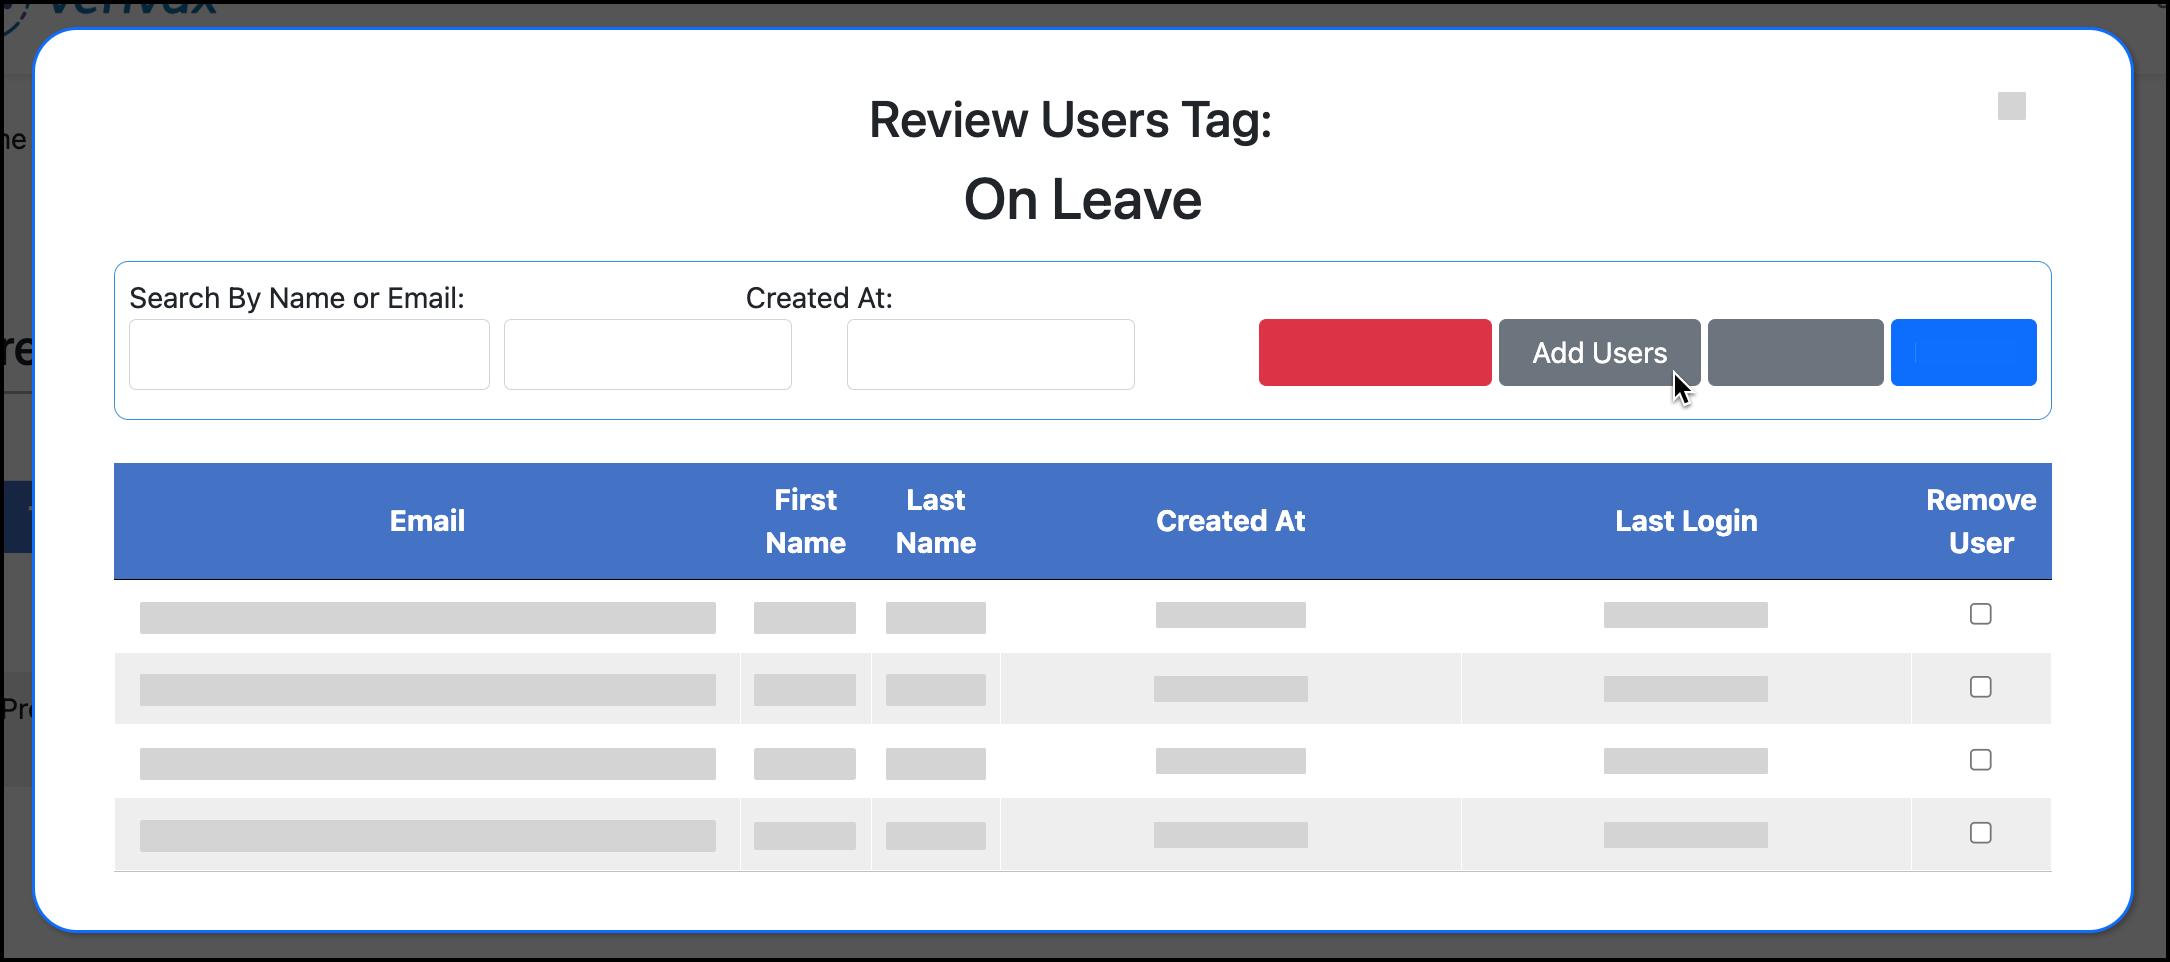
Click Add Users:
-
Follow the instructions for formatting your file.
Here is an example file layout for adding users with email addresses:
|
Key |
Search Value |
|---|---|
|
1 |
test@trackmysolutions.us |
|
1 |
user@trackmysolutions.us |
-
Upload your file and test.
-
If the test run is successful, re-upload the file and click Submit.
Edit a user’s tags in the Account Summary
Add or remove a tag for a user via their Account Summary.
-
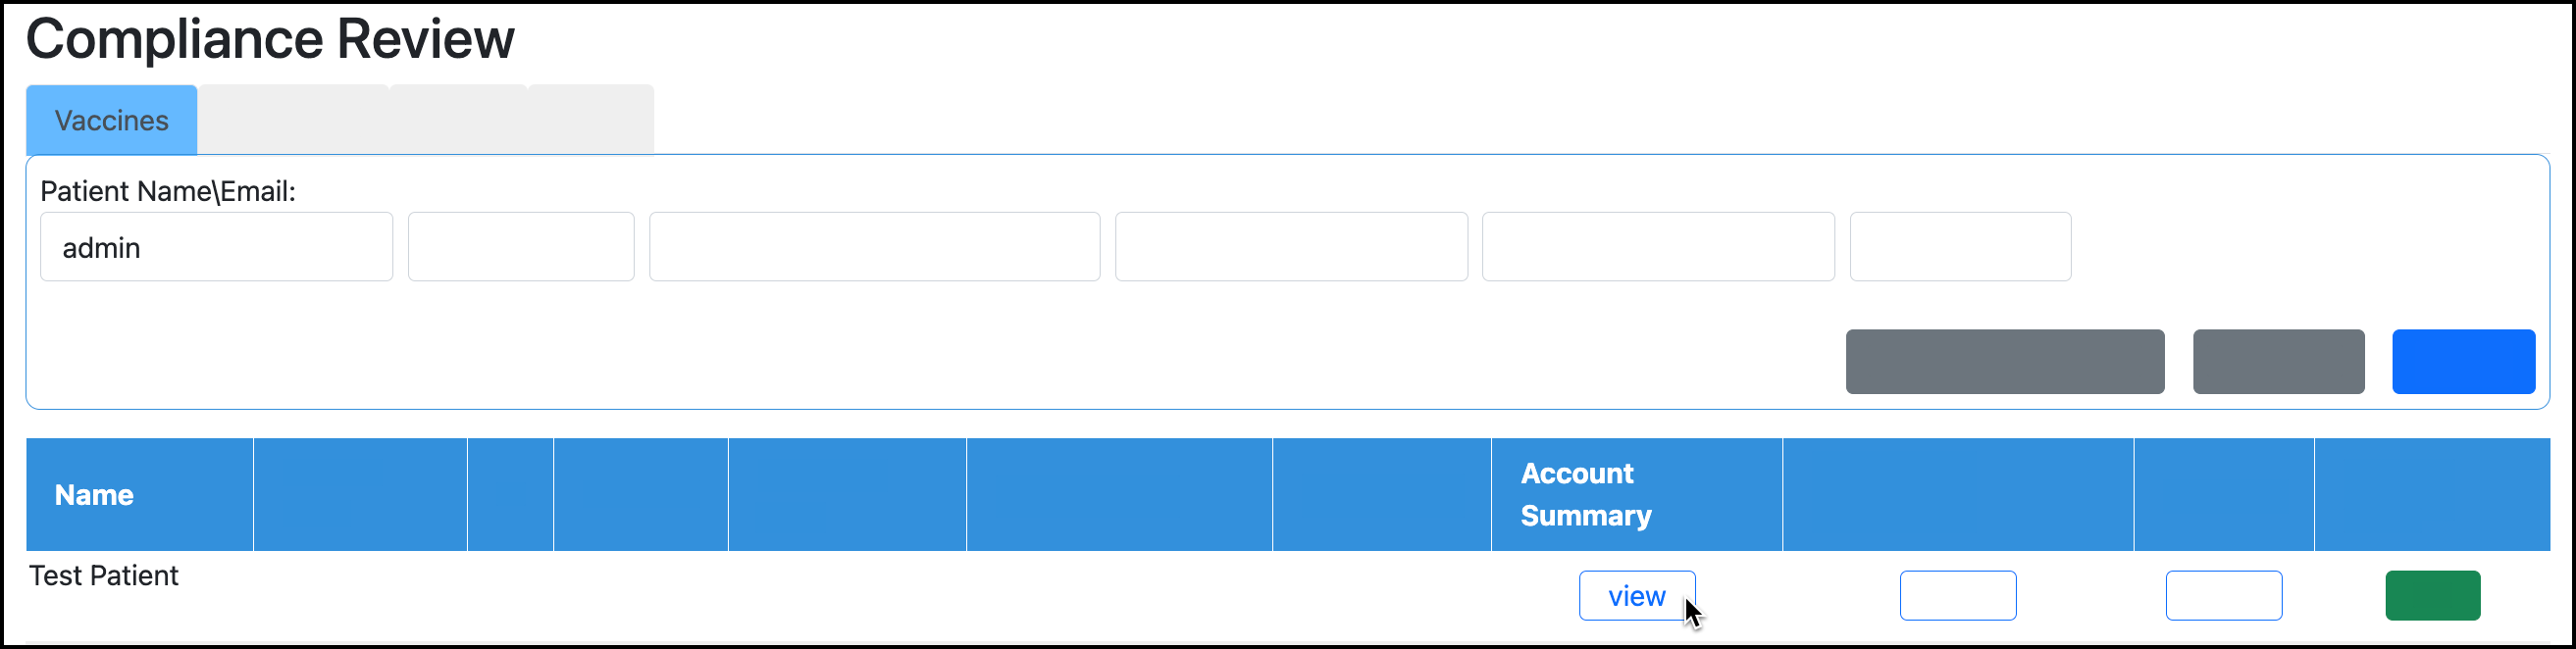
In your clinical/admin TrackMy portal, go to Compliance Review.
-
In the Vaccines tab, search for the user.
-
Click View for Account Summary:
-
View all tags in the user’s profile area. You may need to scroll the list to see all tags:

-
Check a tag to assign it to the user. The change will be applied immediately.